This blog is the first part of a series of four blogs to introduce FIORI tools. There are various development options available within the umbrella of FIORI, including UI5 Free style apps, FIORI Elements, Native apps, Hybrid apps, Legacy apps etc. There are also various tools already available for development, e.g. BAS, VS Code, Eclipse etc and there are deployment options like On Premise and Cloud.
In this blog we will understand where FIORI tools fit. We will also understand the architecture of FIORI elements-based apps and how FIORI tools can assist in creating/enhancing these apps.
FIORI Tools
Let us first look at the FIORI development options –
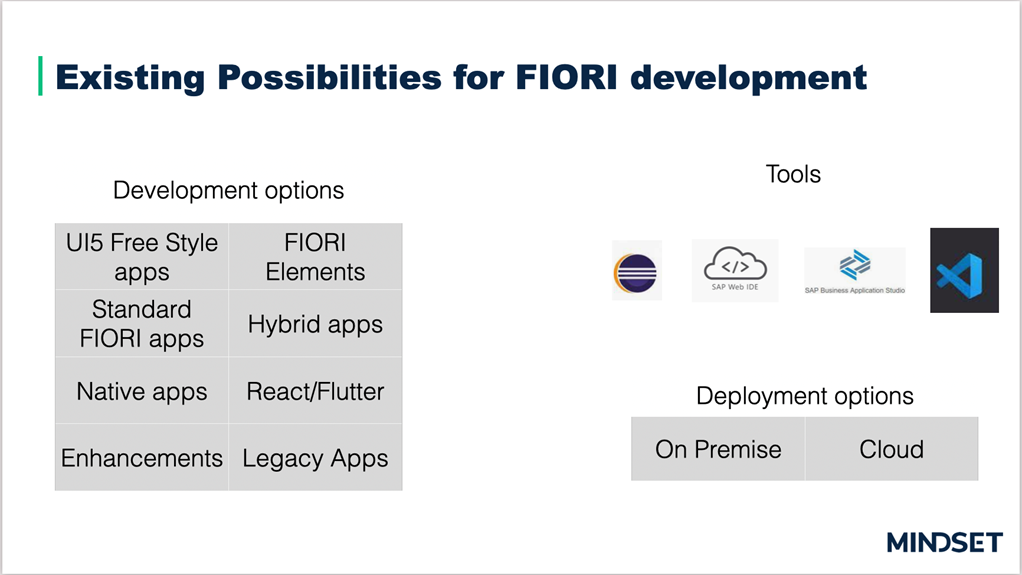
Referring to the existing possibilities, where will FIORI tools fit?
In order to answer that, let us go through and understand the definition of FIORI tools –
“SAP FIORI tools provides many capabilities to increase the efficiency of developing sap FIORI applications using either sap FIORI elements or sapui5 freestyle approach. “
From the definition, it is clear that –
- FIORI tools are used to create FIORI elements or SAPUI5 freestyle apps only
- At the moment, they cannot be used to create other types of apps like hybrid apps or Native apps etc.
Tools and Deployment options
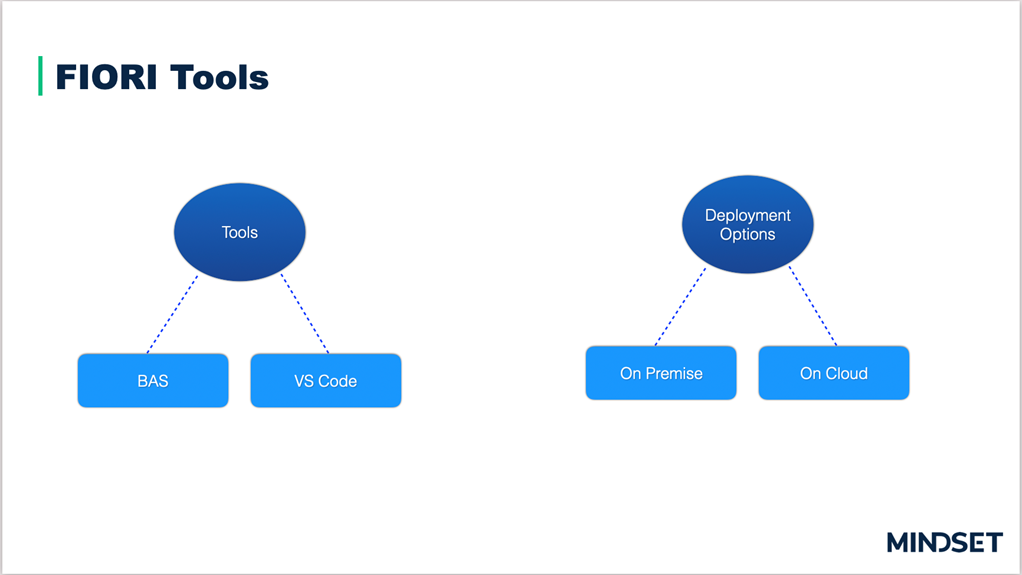
- FIORI Tools can be used using local development tool e.g. Visual Studio Code or cloud based tool BAS
- The apps built using FIORI tools can be deployed On Premise ABAP system or on Cloud Foundry
FIORI Tools using VS Code
In this blog, we will see how FIORI tools can be used to create a list report object page FIORI elements app using VS Code within minutes
Prerequisites –
- Install Node.js
- Install Visual Studio Code
- Set up visual code for UI5 development
- Access to demo gateway system ES5
Before we get our hands dirty, let us have a quick look at the FIORI Elements architecture and then we will see how FIORI tools play a vital assistance in each step
FIORI elements architecture
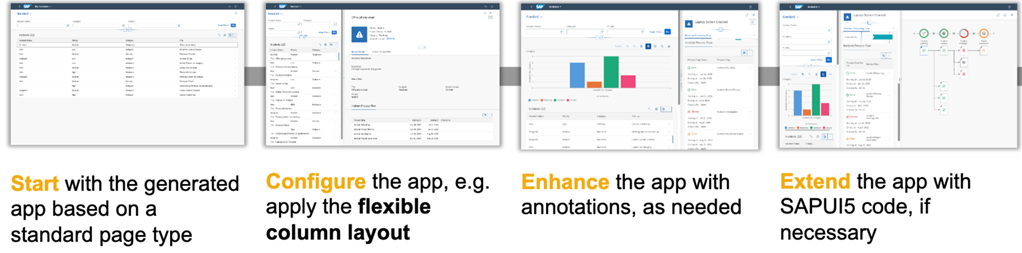
The flow will be – Start -> Configure -> Enhance -> Extend
We will see how FIORI Tools can increase the efficiency in each step.
Step 1 – Start with the generated app based on a standard page type
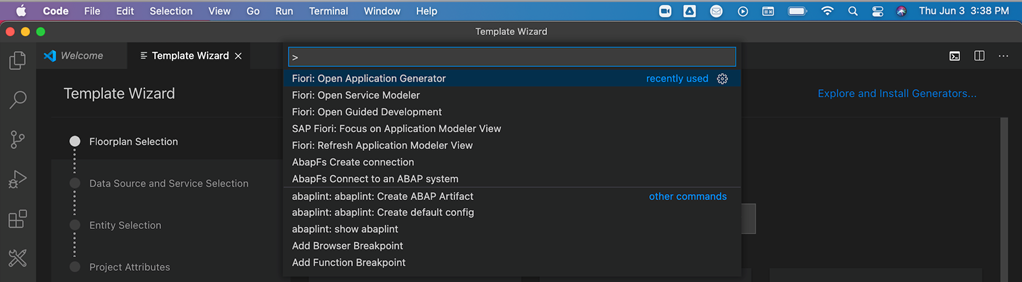
1: Firstly, in the VS code, either use terminal command – FIORI: Open Application Generator Or follow the below context menu: View → Command Palette
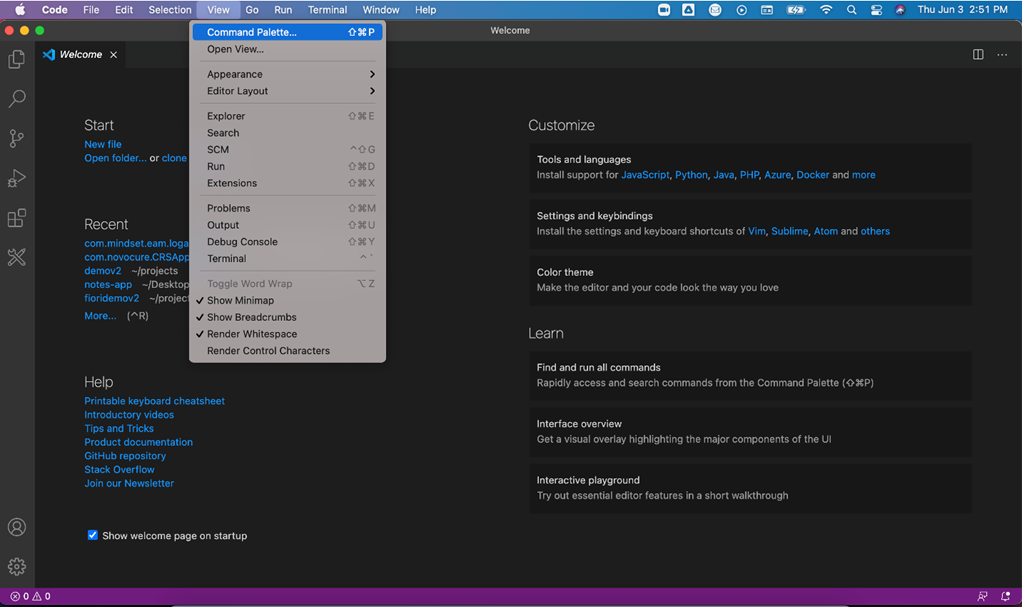
Type FIORI: Open Application Generator in the template wizard
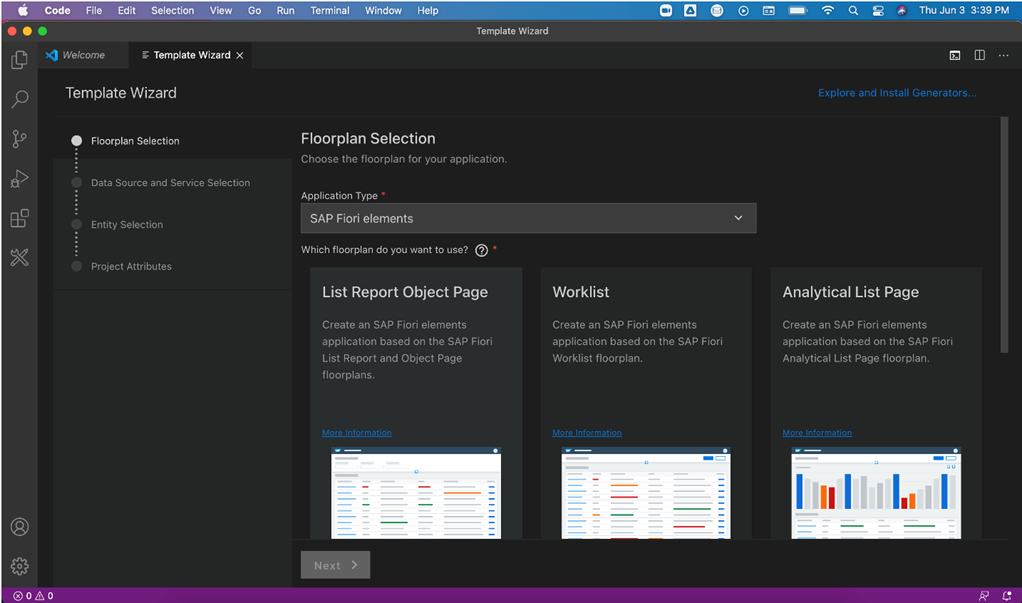
2: Secondly, select application type SAP FIORI elements and List report Object Page and then click on the Next Button
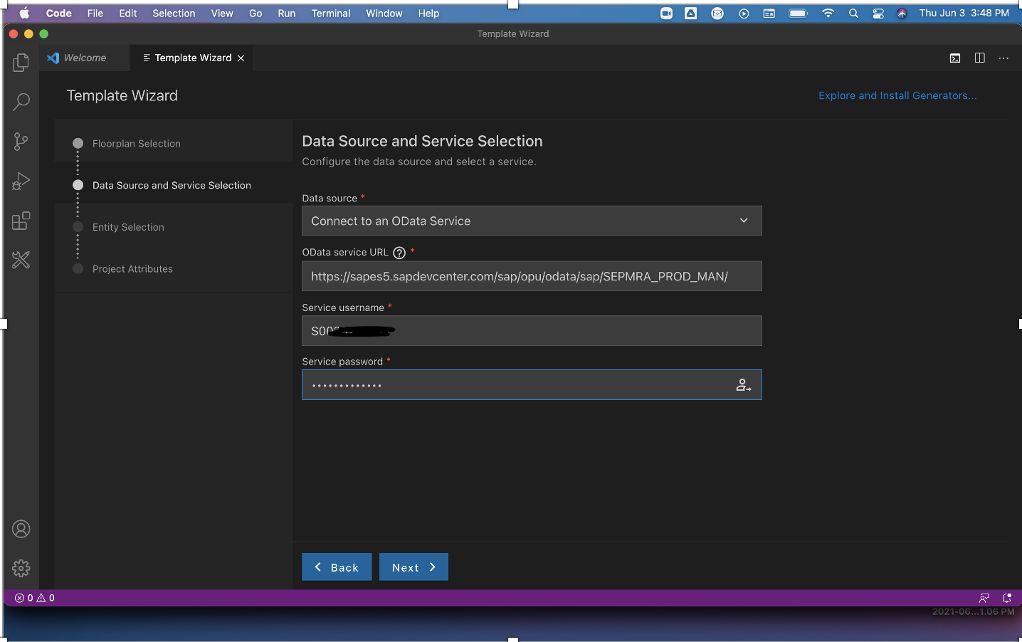
3: Provide the details for Data source. Here, we are connecting to the OData service from the demo gateway system ES5. Please refer to Access to demo gateway system ES5
If not done already.
You should be able to access the link – https://sapes5.sapdevcenter.com/sap/opu/odata/sap/SEPMRA_PROD_MAN/
Enter the credentials to connect to ES5 and click on the login button located to the right of Service password input field. Once successful, click on the Next button
4: Select the entity type. Since we want to display the list of Products, we will select the Product entity SEPMRA_C_PD_Product and click on Next button
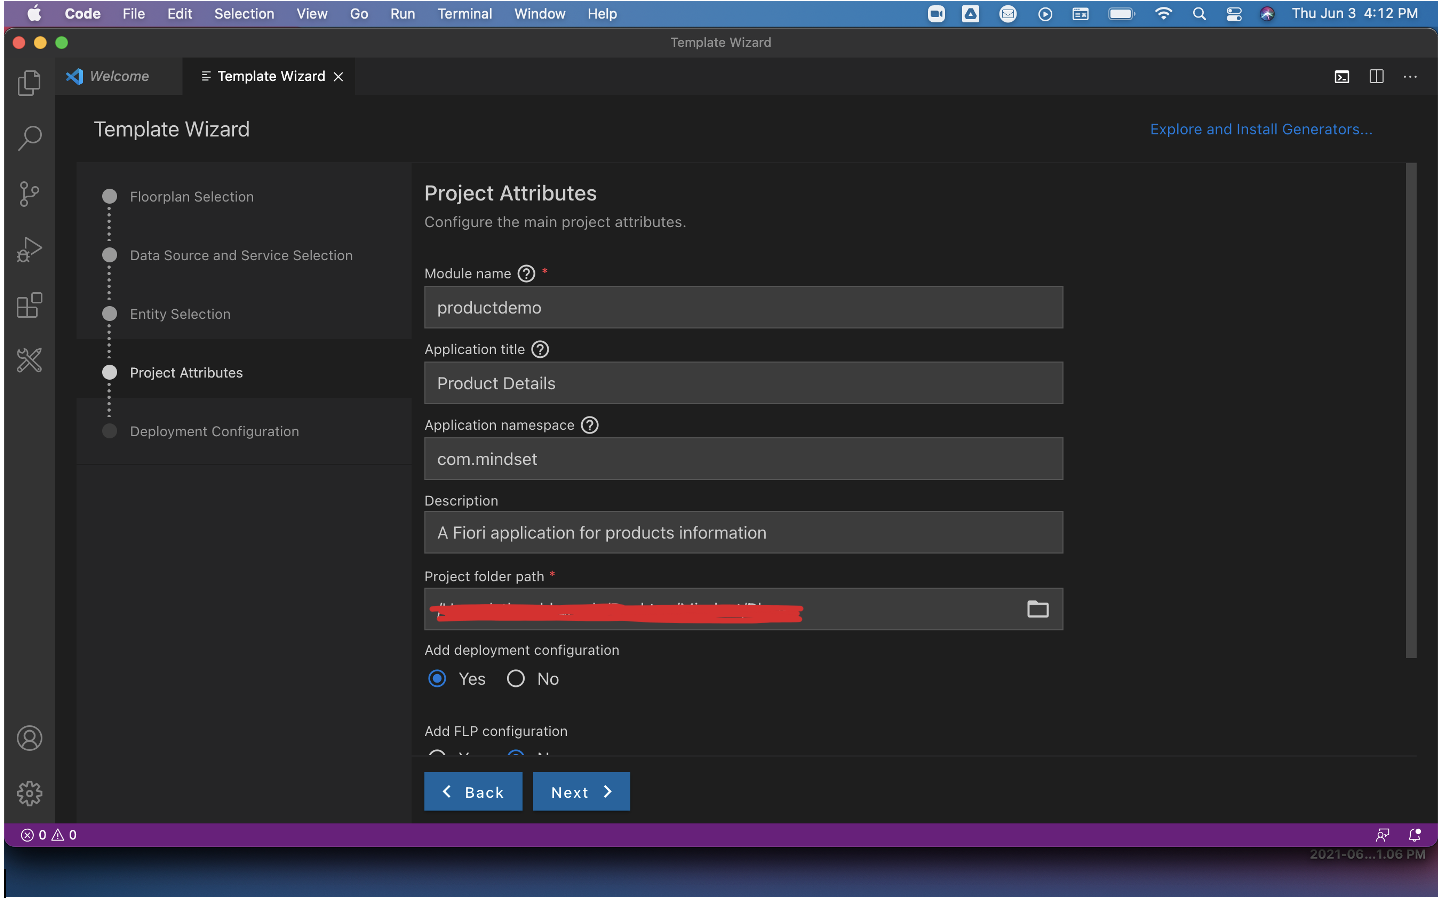
5: Configure the project attributes. Since we want to deploy the application on cloud foundry, select the option Add deployment configuration as Yes
6: Provide the deployment configuration details.
Below are the details to be provided if Cloud Foundry is selected.
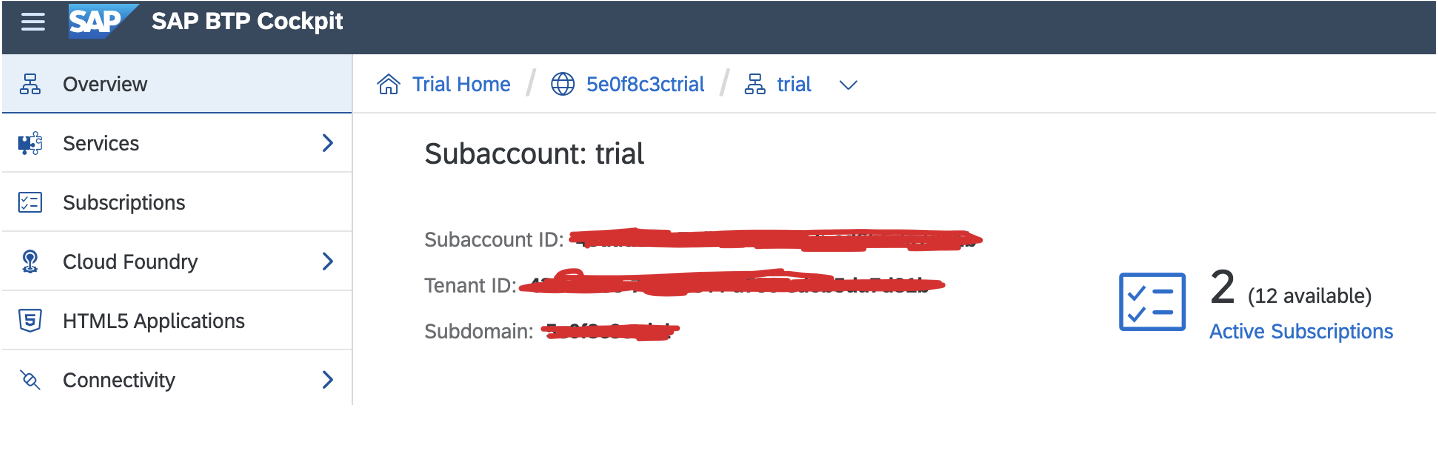
Destination name is the ID of the sub account which you can find after logging in to BTP – SAP BTP Cockpit
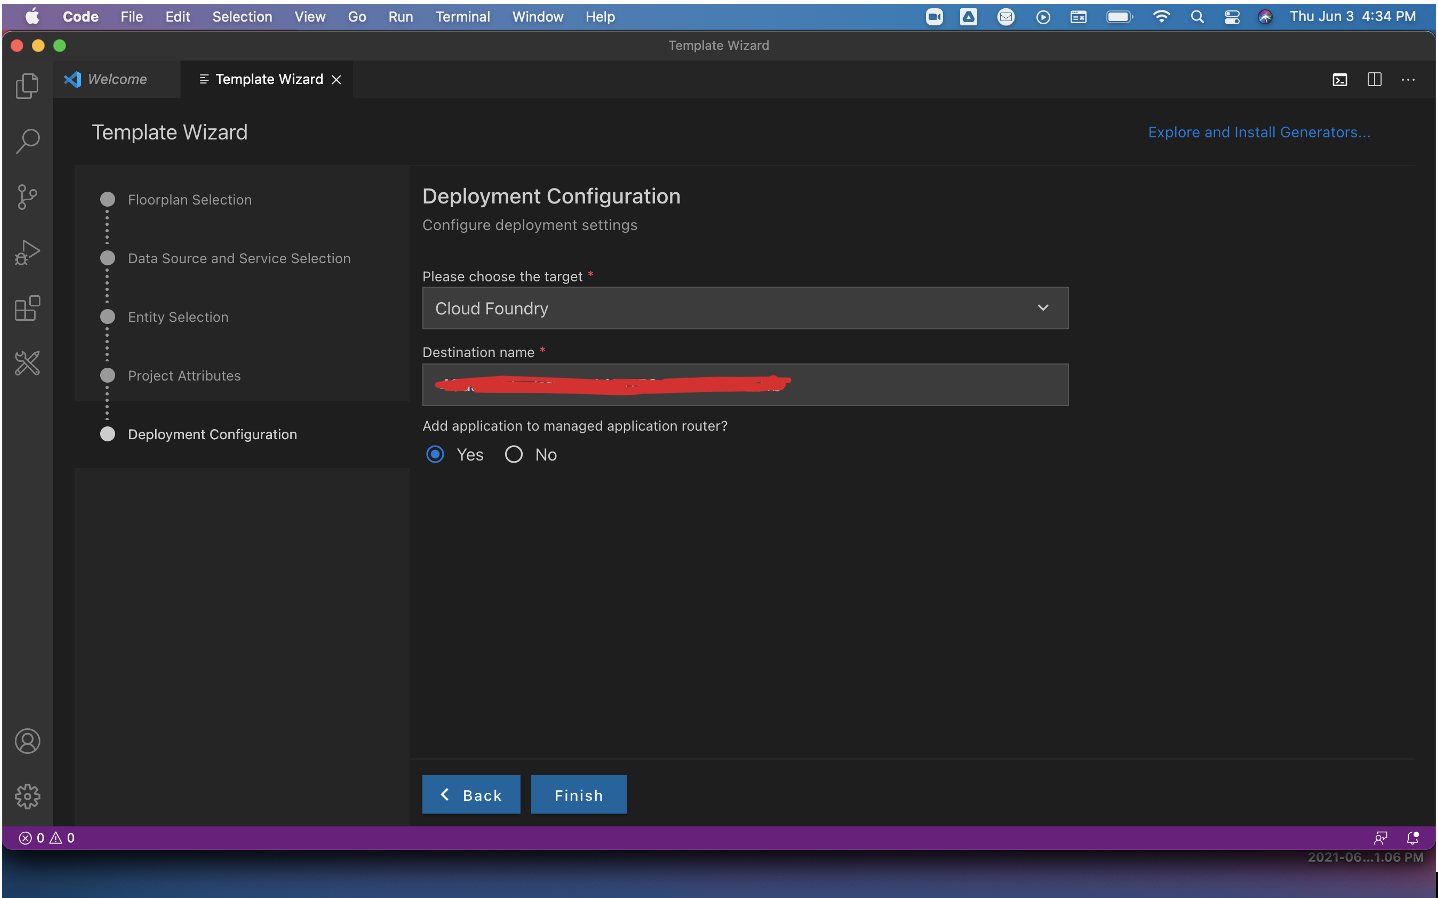
Additionally, reference screen shot from BTP –
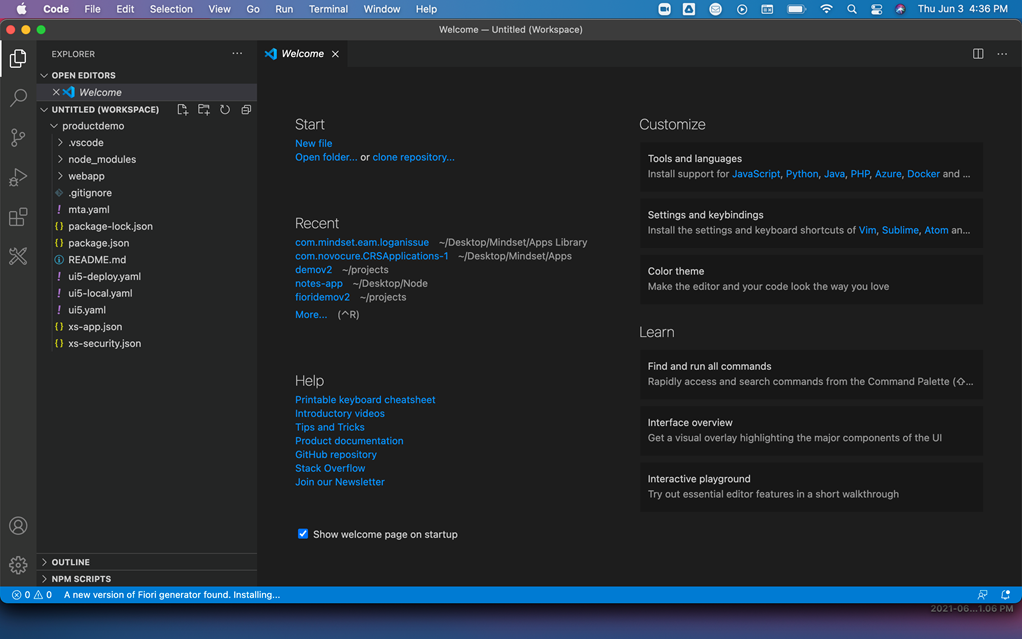
7: The app is now generated with the required project structure
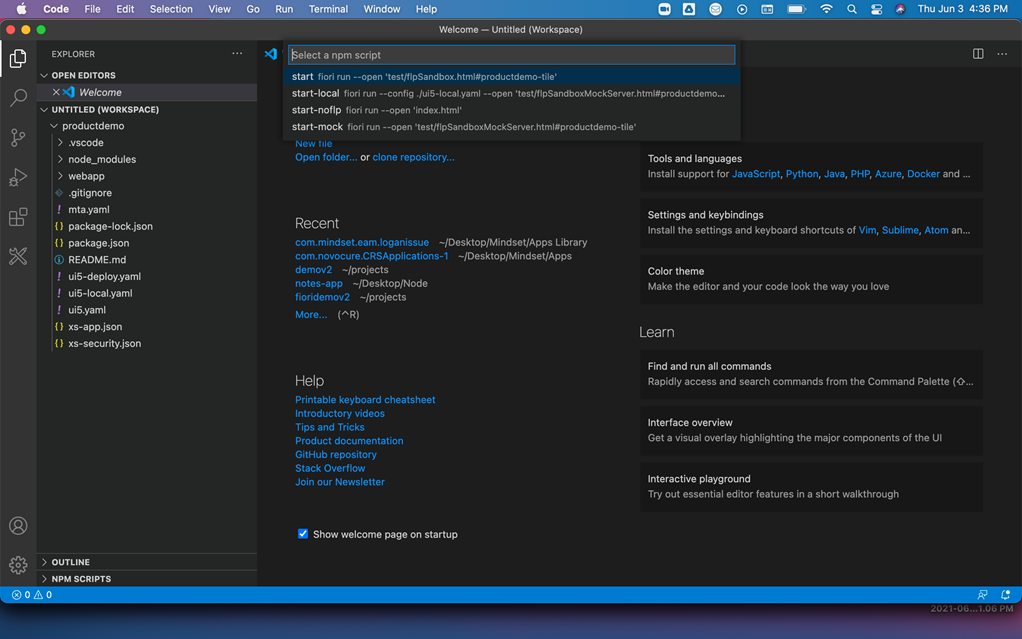
8: Finally, preview the app by using the right click context menu or by giving terminal command – npm start
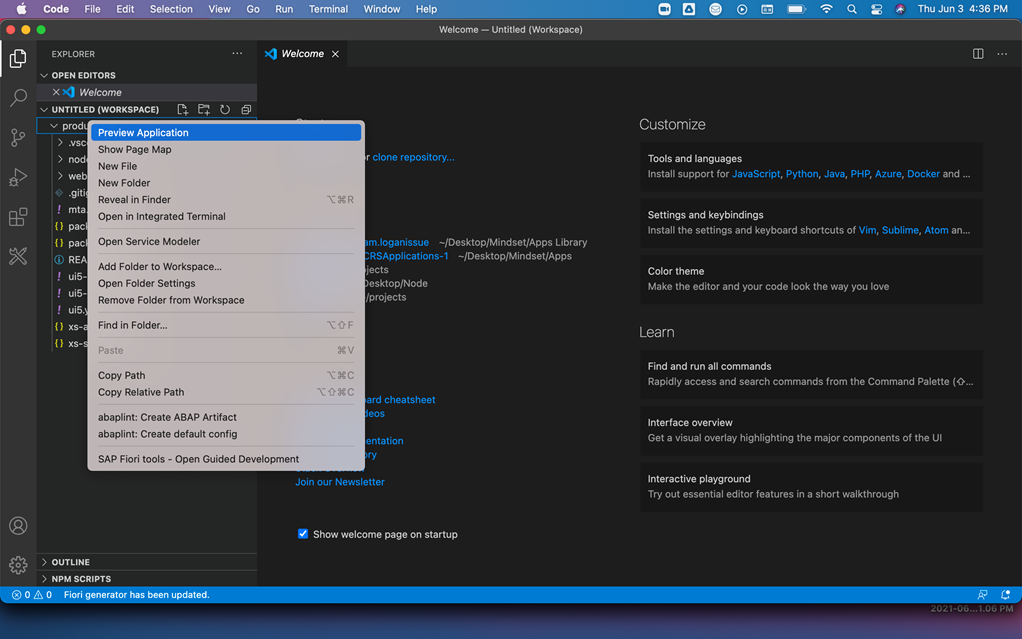
Select the first option start fiori run
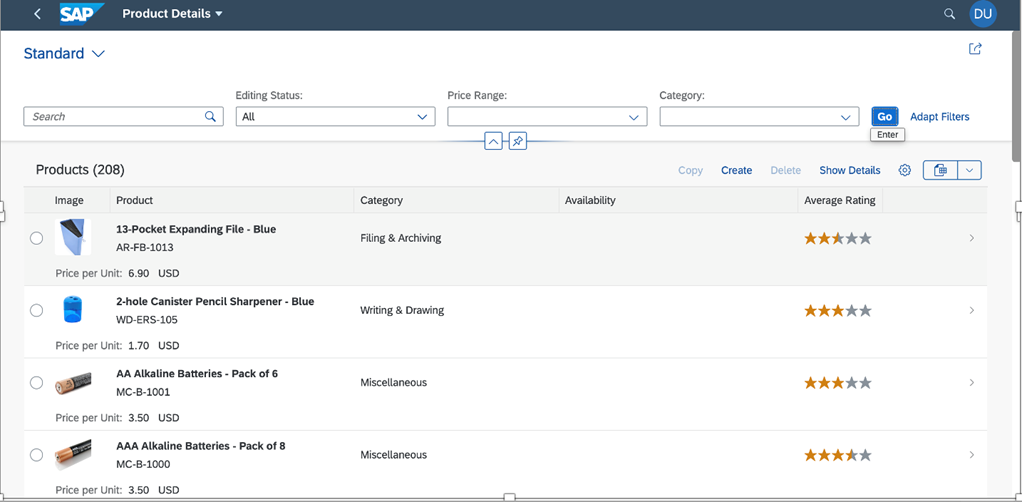
Finally, test the output-
What next?
Part 2 – Exploring FIORI Tools guided development
If you are interested in viewing similar articles, visit our blog, here.
View our LinkedIn, here.

