Lately I’ve been spending a lot of time on the three big areas of innovation in IT: mobile, cloud, and analytics. SAP has multiple solutions for all of these, so it seemed like a helpful blog to guide people through one possible option. There are many challenges with each area, so I’ll try to point out where I’ve made mistakes, and help to get you through it.
I’m breaking this blog into three parts since it was getting a bit long to put this all together in one, and each component can be a useful topic by itself.
Firstly, Setting up an environment on the HANA Cloud and publishing your first SAPUI5 App
Secondly, : Creating content on HANA with ODATA and displaying it with SAPUI5
Finally, Moving SAPUI5 to an iPhone application with PhoneGap
Let’s get started.
Part 1: Setting up an environment on the HANA Cloud and publishing your first app
SAP is starting to become much more developer friendly. Anyone can now go out and get a HANA cloud environment for free to start developing with. We can publish our SAPUI5 app right on top of this HANA cloud environment on the XS Engine. It’s one of the most exciting components of HANA.
Summary:
- Sign up for the HANA Cloud
- Download and install tools
- Create a SAPUI5 app
- Publish and save to the cloud
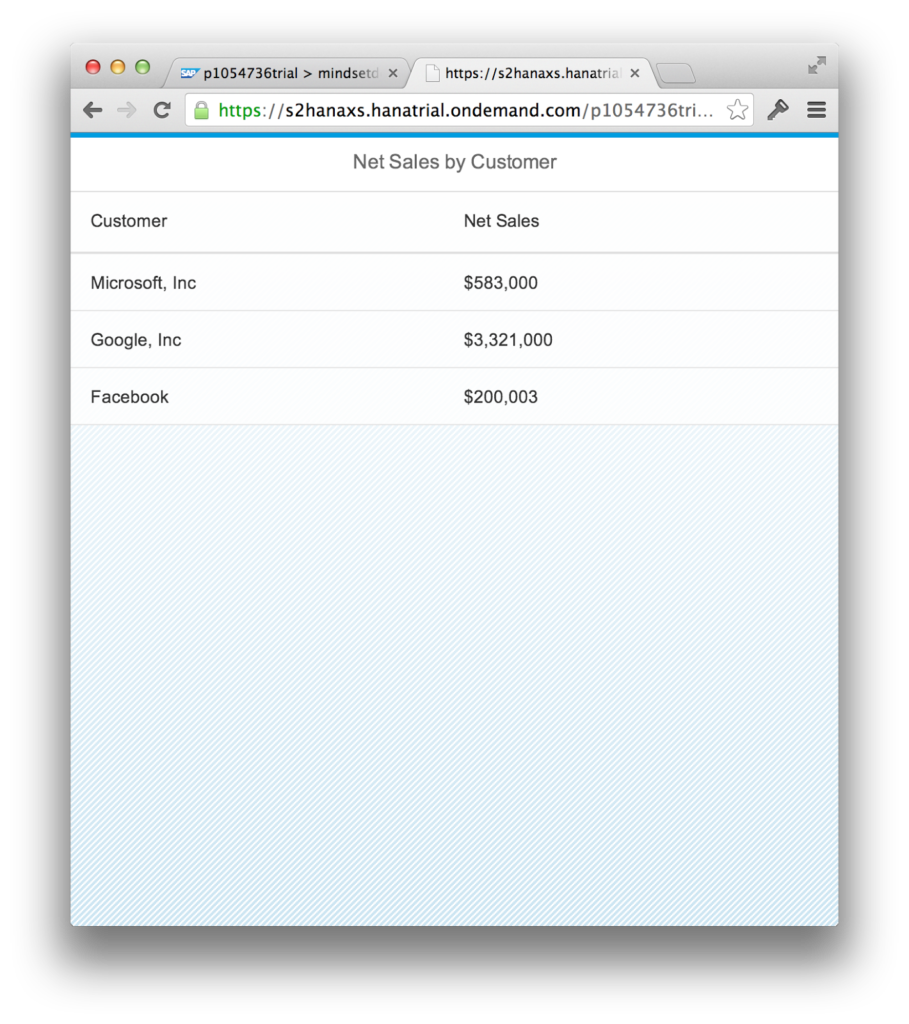
At the end, we will have something that looks like this:

Sign up for the HANA Cloud
Start here: https://account.hanatrial.ondemand.com/. This is free.
Next login to the HANA Cloud cockpit and create a new package like below. Name it trial1 (it must be all lowercase and start with a letter).
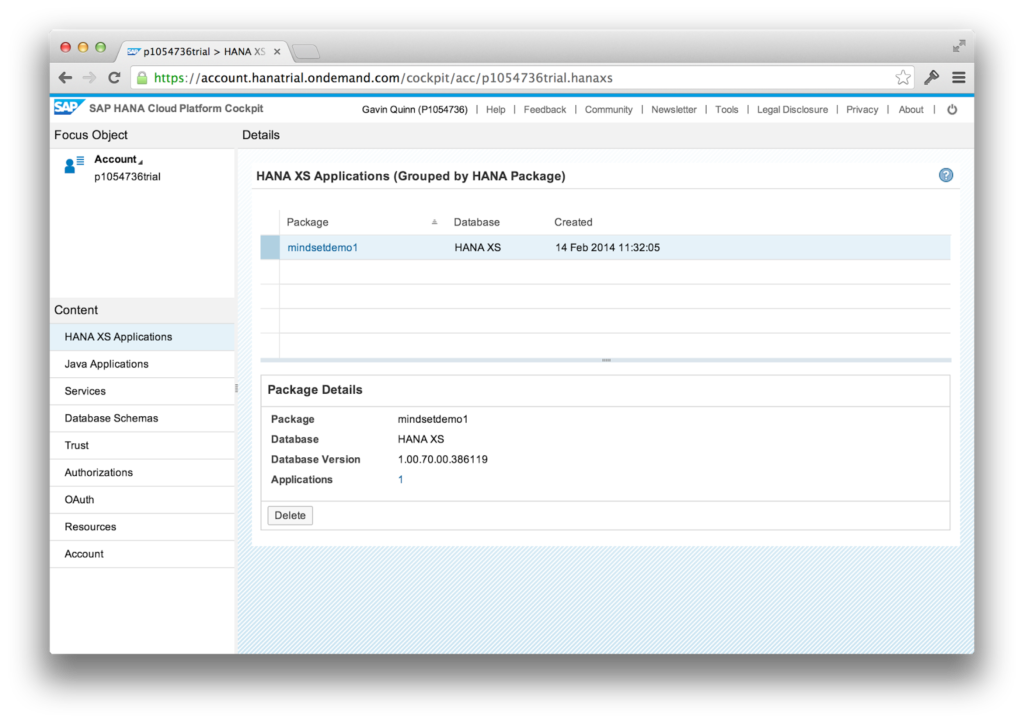
Notice the version is 70, which is SP7 and includes a much better version of SAPUI5.
Download and Install Tools
Next we will need to download a number of applications. There are very contradictory instructions for how to install all of these, so I will guide you through how I did it.
- Download HANA Client: https://hanadeveditionsapicl.hana.ondemand.com/hanadevedition/ (I used 64-bit Windows version). Install this.
- Download HANA Studio: https://hanadeveditionsapicl.hana.ondemand.com/hanadevedition/ (I used 64-bit Windows version). Install this.
- Skip the other files on here.
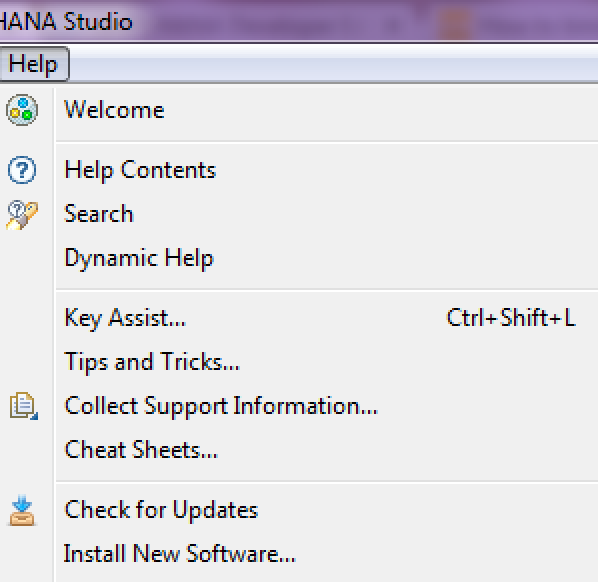
- Open up HANA Studio, and from the menu at the top choose Help->Install New Software…
- Paste in the URL: https://tools.hana.ondemand.com/kepler
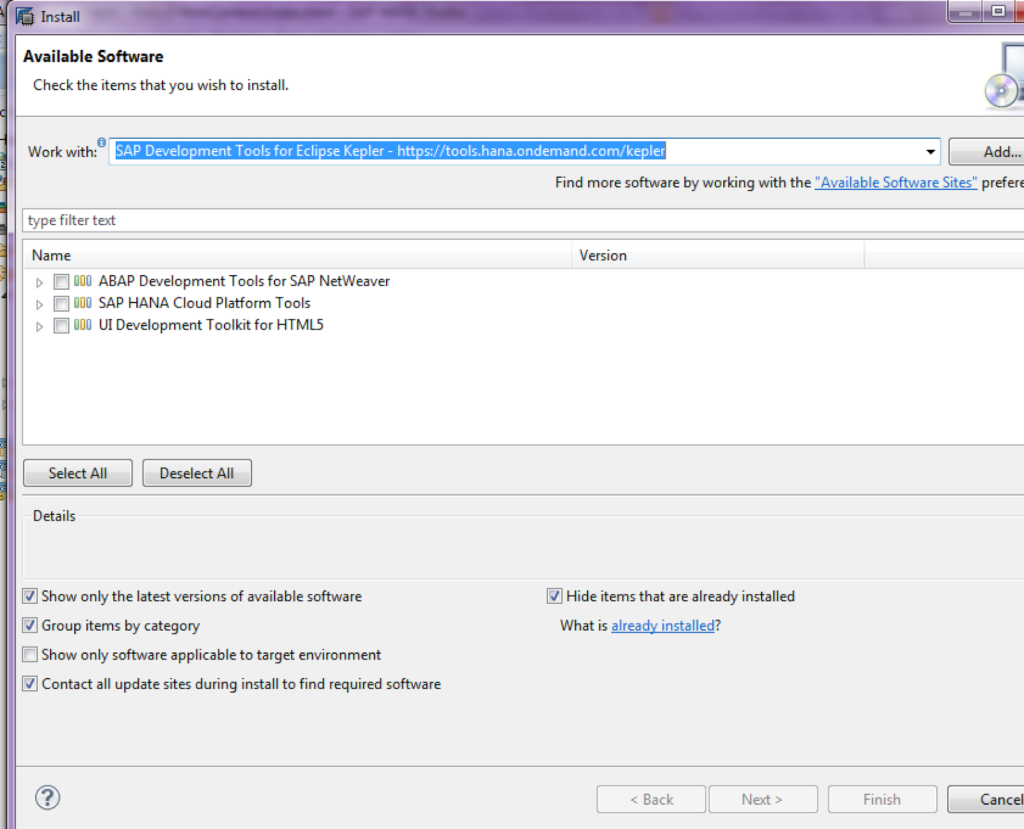
- Select all boxes and follow defaults to complete.
- Download the HANA Platform tools zip file from this site: https://tools.hana.ondemand.com/ (Latest SDK downloads: SAP HANA Cloud Platform SDK for Java Web: neo-java-web-sdk-1.46.16.5.zip ) *This didn’t make much sense to me either, but it’s later used to make a tunnel to connect to HANA. I’ll explain later.
- Extract the zip file for HANA SDK tools to something like c:program filessaphana tools
- Now you’re ready to log in.
Connect our HANA Studio to the HANA Cloud environment
- Launch HANA Studio and navigate to the Administrator view.
- Open up a tunnel to HANA with your Cloud Credentials.
- Add a new system based on these credentials.
- Now we’re connected and ready to develop!
Create a SAPUI5 App
- Navigate to the HANA Developer view
- Navigate to the Project Explorer tab
- Create a new SAPUI5 project. In the menu at the top, click on File->New->Other… then select SAPUI5 Application Development->Application Project.
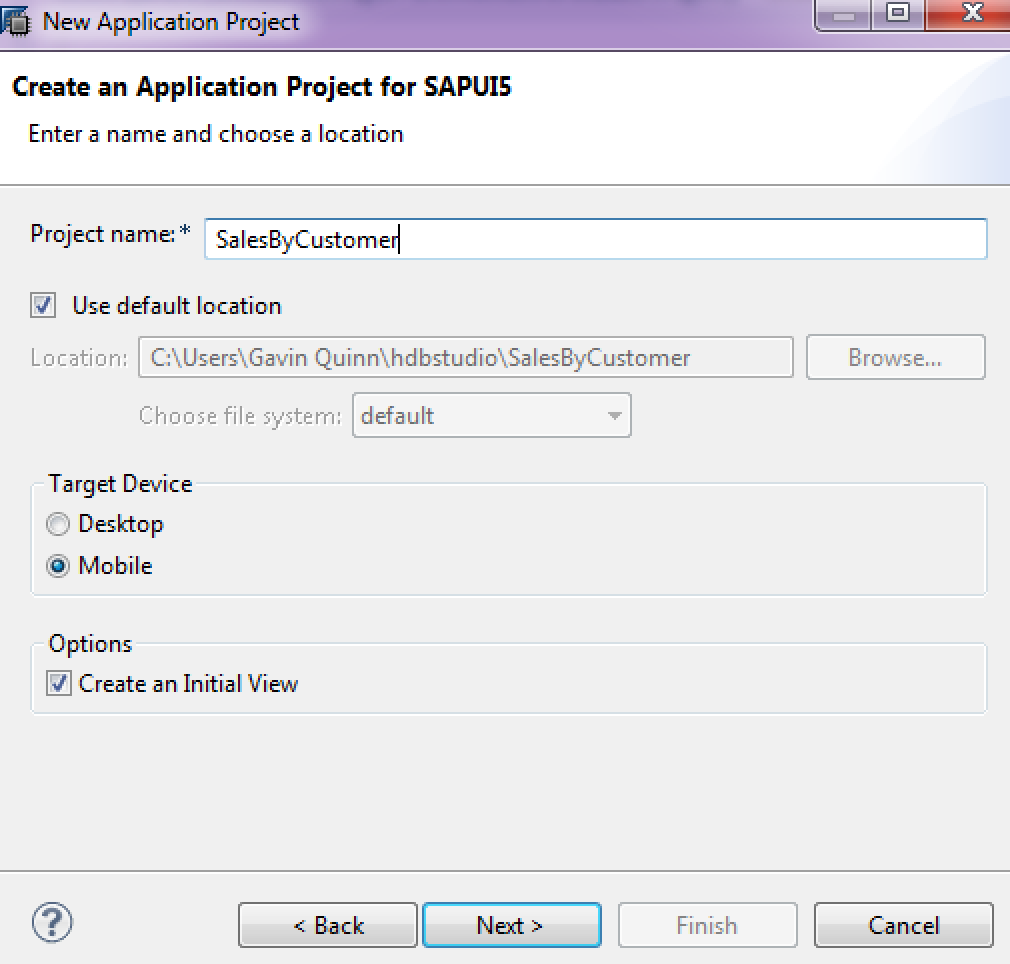
- Name your project: SalesByCustomer
- Select Mobile radio button.
- Keep the development paradigm as Javascript. This seems to be the most common.
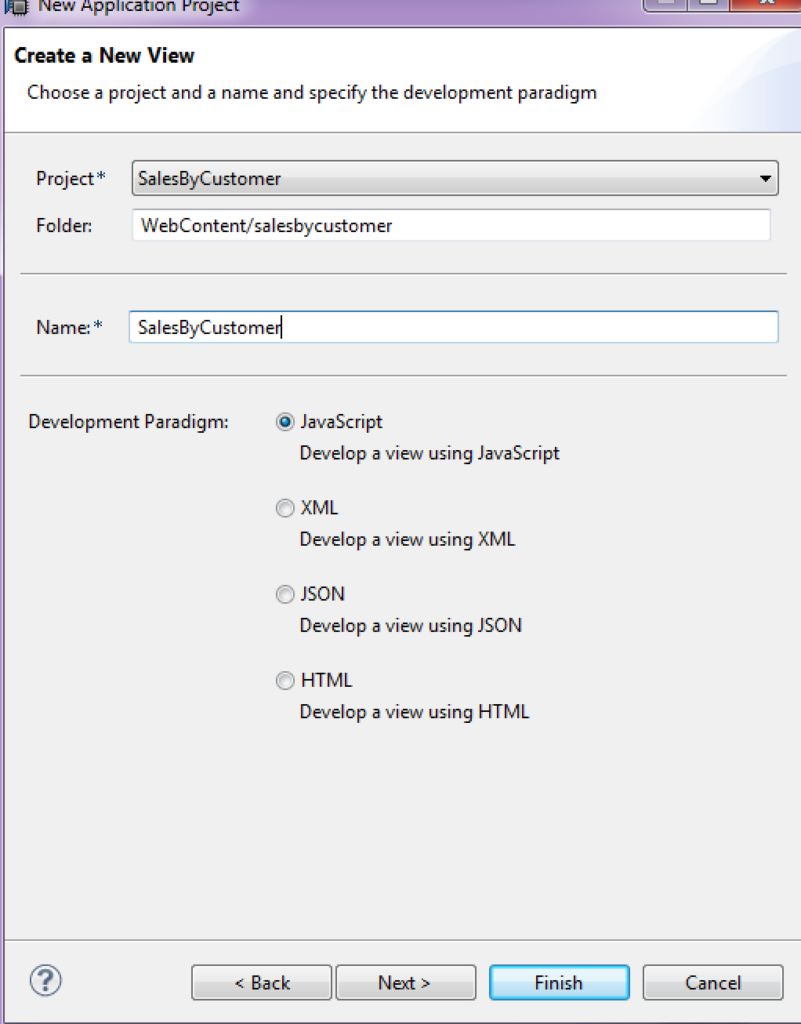
- Select the checkbox to add a default view. Name this SalesByCustomer
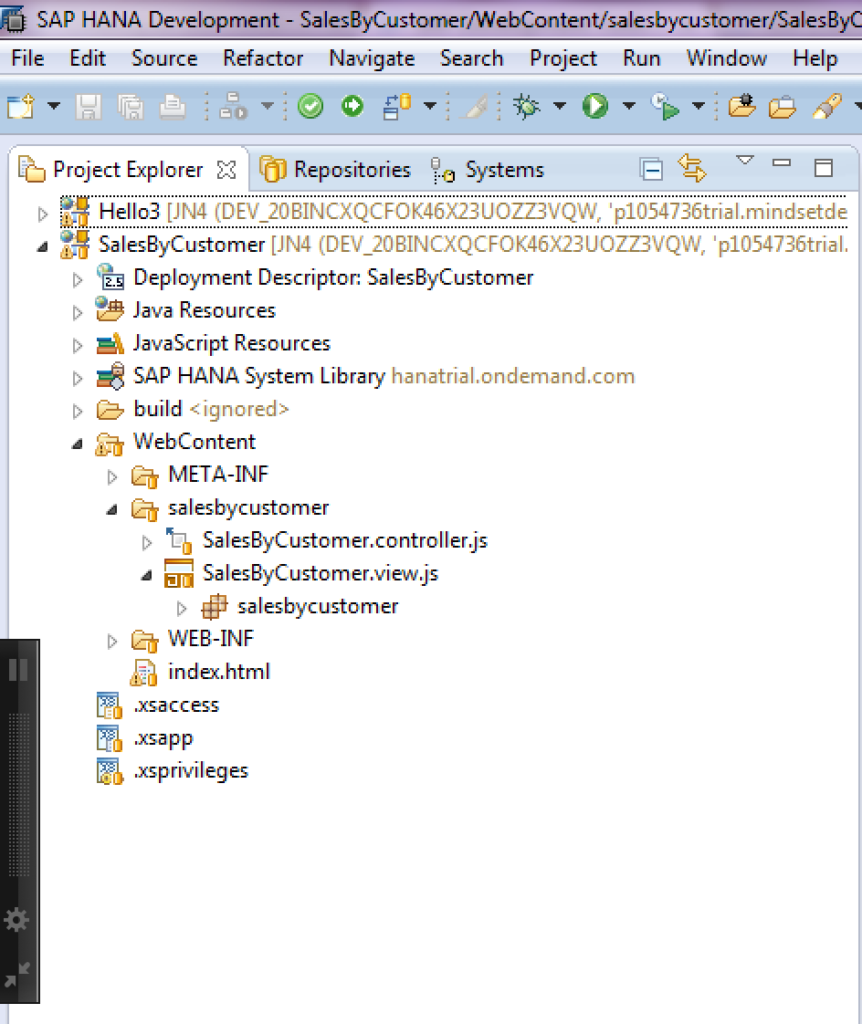
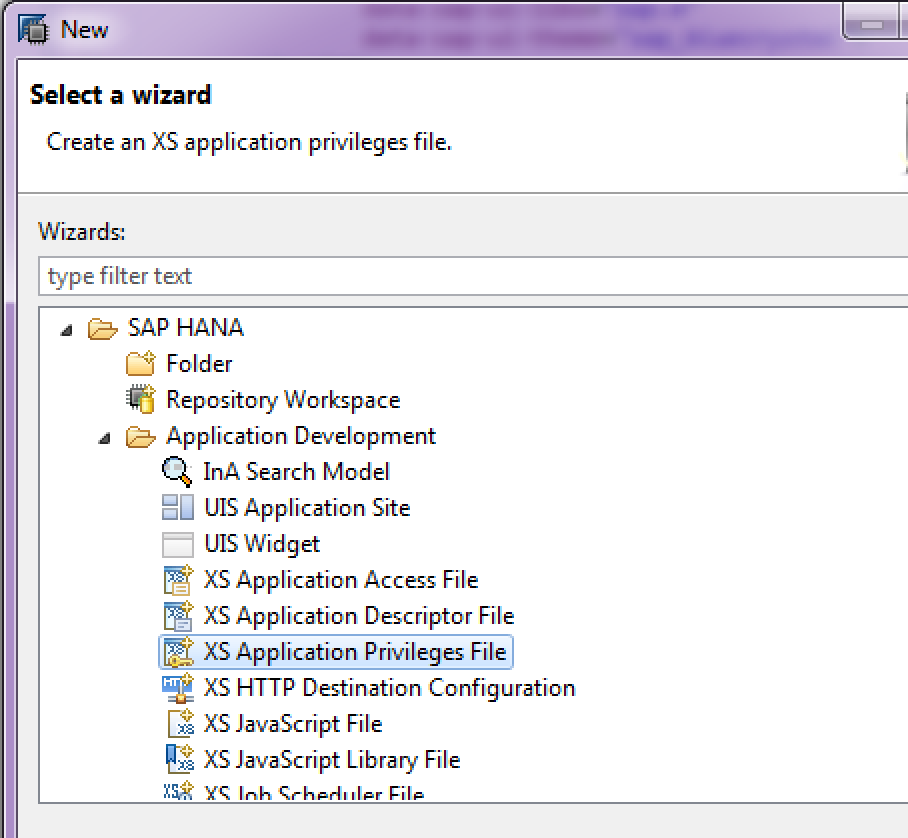
- Next, in order to be exposed as an application by HANA and the XS Engine, you need to add 3 files. .xsaccess, .xsapp, and .xsprivileges. You can add all three to the root of the project by right-clicking on the project and selecting New->Other->SAP Hana->Application Development-><XS Application access, app or privileges).
- Edit the .xsaccess file and insert the following:
{“exposed” : true}
- Edit the .xsprivileges file and insert the following: { “privileges” : [ { “name” : “Basic”, “description” : “Basic usage privilege” } ]}

- No need to edit the .xsapp file.
- Now try to test a deployment.
- Right-click on your project and select Team->Share…
- Share with SAP HANA Repository, and choose your HANA Repository.
- Create a new workspace.
- Select your repository package as the new package created in the HANA Cloud. Something like p13151351trial.trial1
- Let the project create a new sub-package.
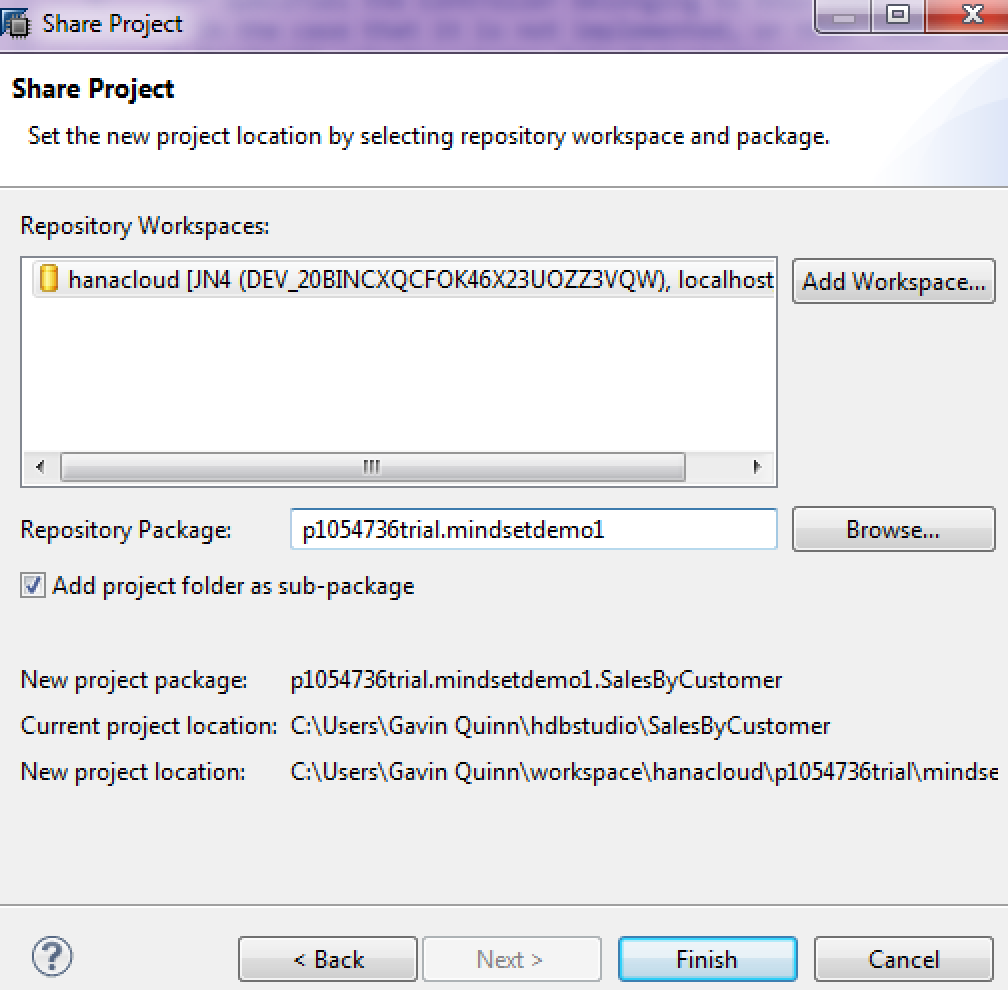
- Click finish.
- Edit the file in your project WebContent->salesbycustomer->SalesByCustomer.view.js.
- In the createContent() function, add a piece of test content:
new sap.m.Button({text: “Hello”})
-
Edit the index.html file to point to the HANA resources and change our SCRIPT src to equal this: src=“/sap/ui5/1/resources/sap-ui-core.js”
-
Right-click on your project, choose Team->Activate All… click on Select All, then okay.
-
Now if you navigate back to your HANA Cloud Console that you were in before, click on the tab on the left for XS Applications. Choose your package, and now you should see our new application with a link to open it.
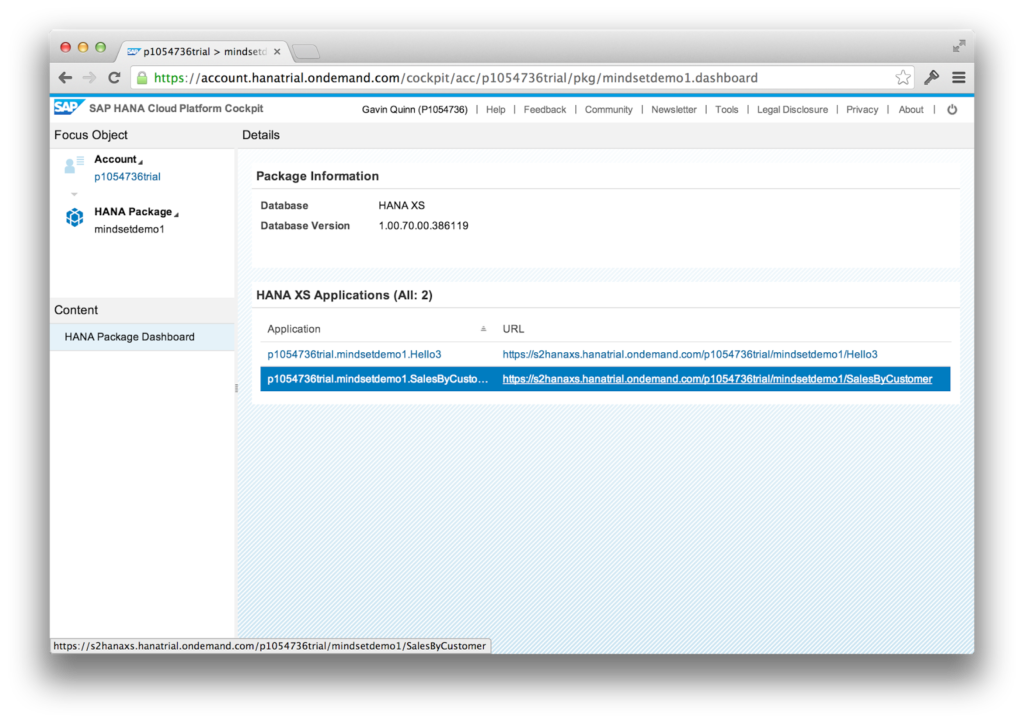
-
Click on the link and you should open your application. It will likely have a 404 error since we haven’t defined an initial launch page. Add that in here to the end of your url: /WebContent/index.html and now you should see a basic mobile app:
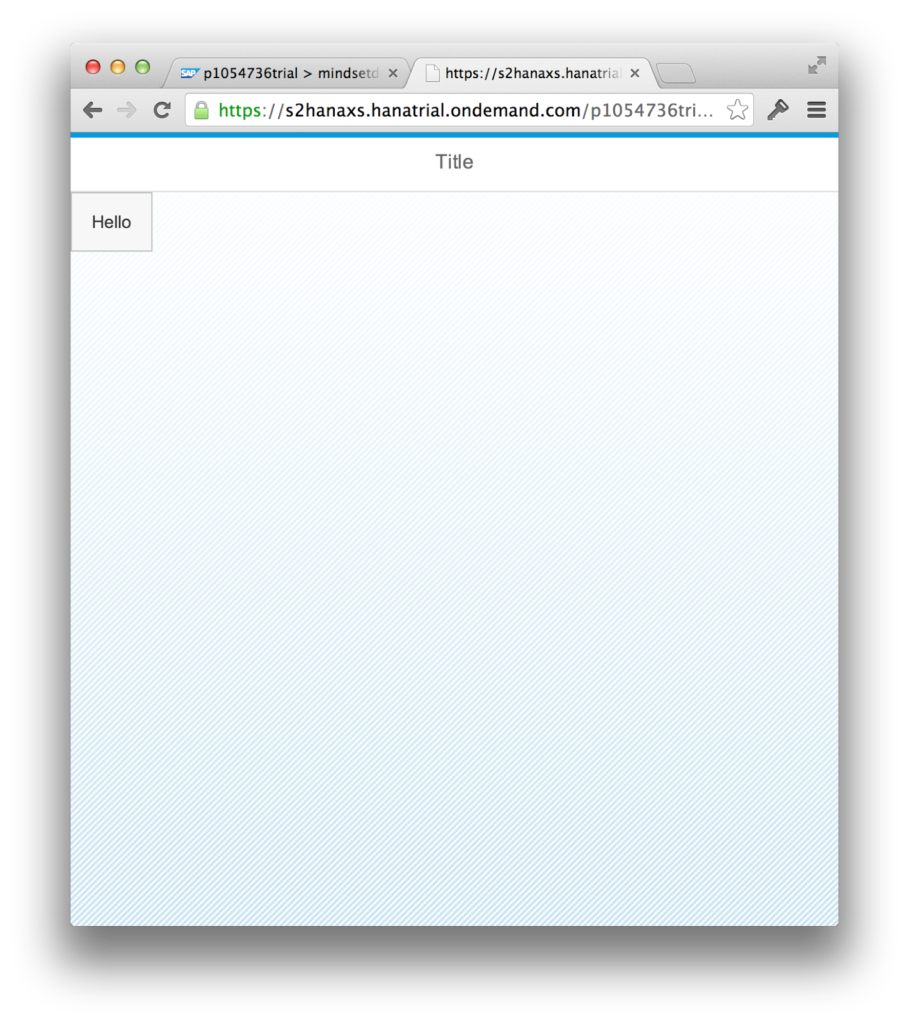
-
Now let’s update the code and add in a data model and table replace the entire view’s createContent() method with this below code. Once it’s complete click on Activate all again.
Now you should see the application by refreshing your browser page: